When it comes to skincare, introducing new products can feel exciting, but it also carries the risk of adverse reactions. This is where patch testing comes into play—a simple yet crucial step that can save you from potential skin troubles. In this post, we’ll explore the importance of patch testing new products and how to do it effectively.
What Is Patch Testing?
Patch testing involves applying a small amount of a new product to a discreet area of skin to check for any adverse reactions before using it on your entire face or body. This technique helps identify potential allergens or irritants, allowing you to enjoy the benefits of new skincare without risking a full-blown reaction.
Why Is Patch Testing Important?
Prevents Adverse Reactions: Skincare products often contain a variety of active ingredients, fragrances, and preservatives. Some of these may cause allergic reactions or irritate sensitive skin. Patch testing helps identify these issues early on.
Saves Time and Money: Instead of committing to a product that may not work for you, patch testing allows you to avoid wasted time and money on products that could potentially cause breakouts, redness, or peeling.
Personalized Skincare: Everyone’s skin is unique. The product that works for one person might not work for another. Patch testing helps tailor your skincare routine to your specific skin type and sensitivities.
Minimizes Skin Damage: Certain ingredients, especially those with exfoliating properties (like AHAs and BHAs) or strong actives (like retinol), can lead to irritation if not introduced gradually. Patch testing can help gauge your skin’s tolerance.
How to Patch Test Effectively
Choose the Right Area: Select a small, inconspicuous area of skin for testing. Common spots include behind the ear, the inner elbow, or along the jawline.
Clean the Area: Make sure the test area is clean and free of any other products. This helps ensure that you get accurate results.
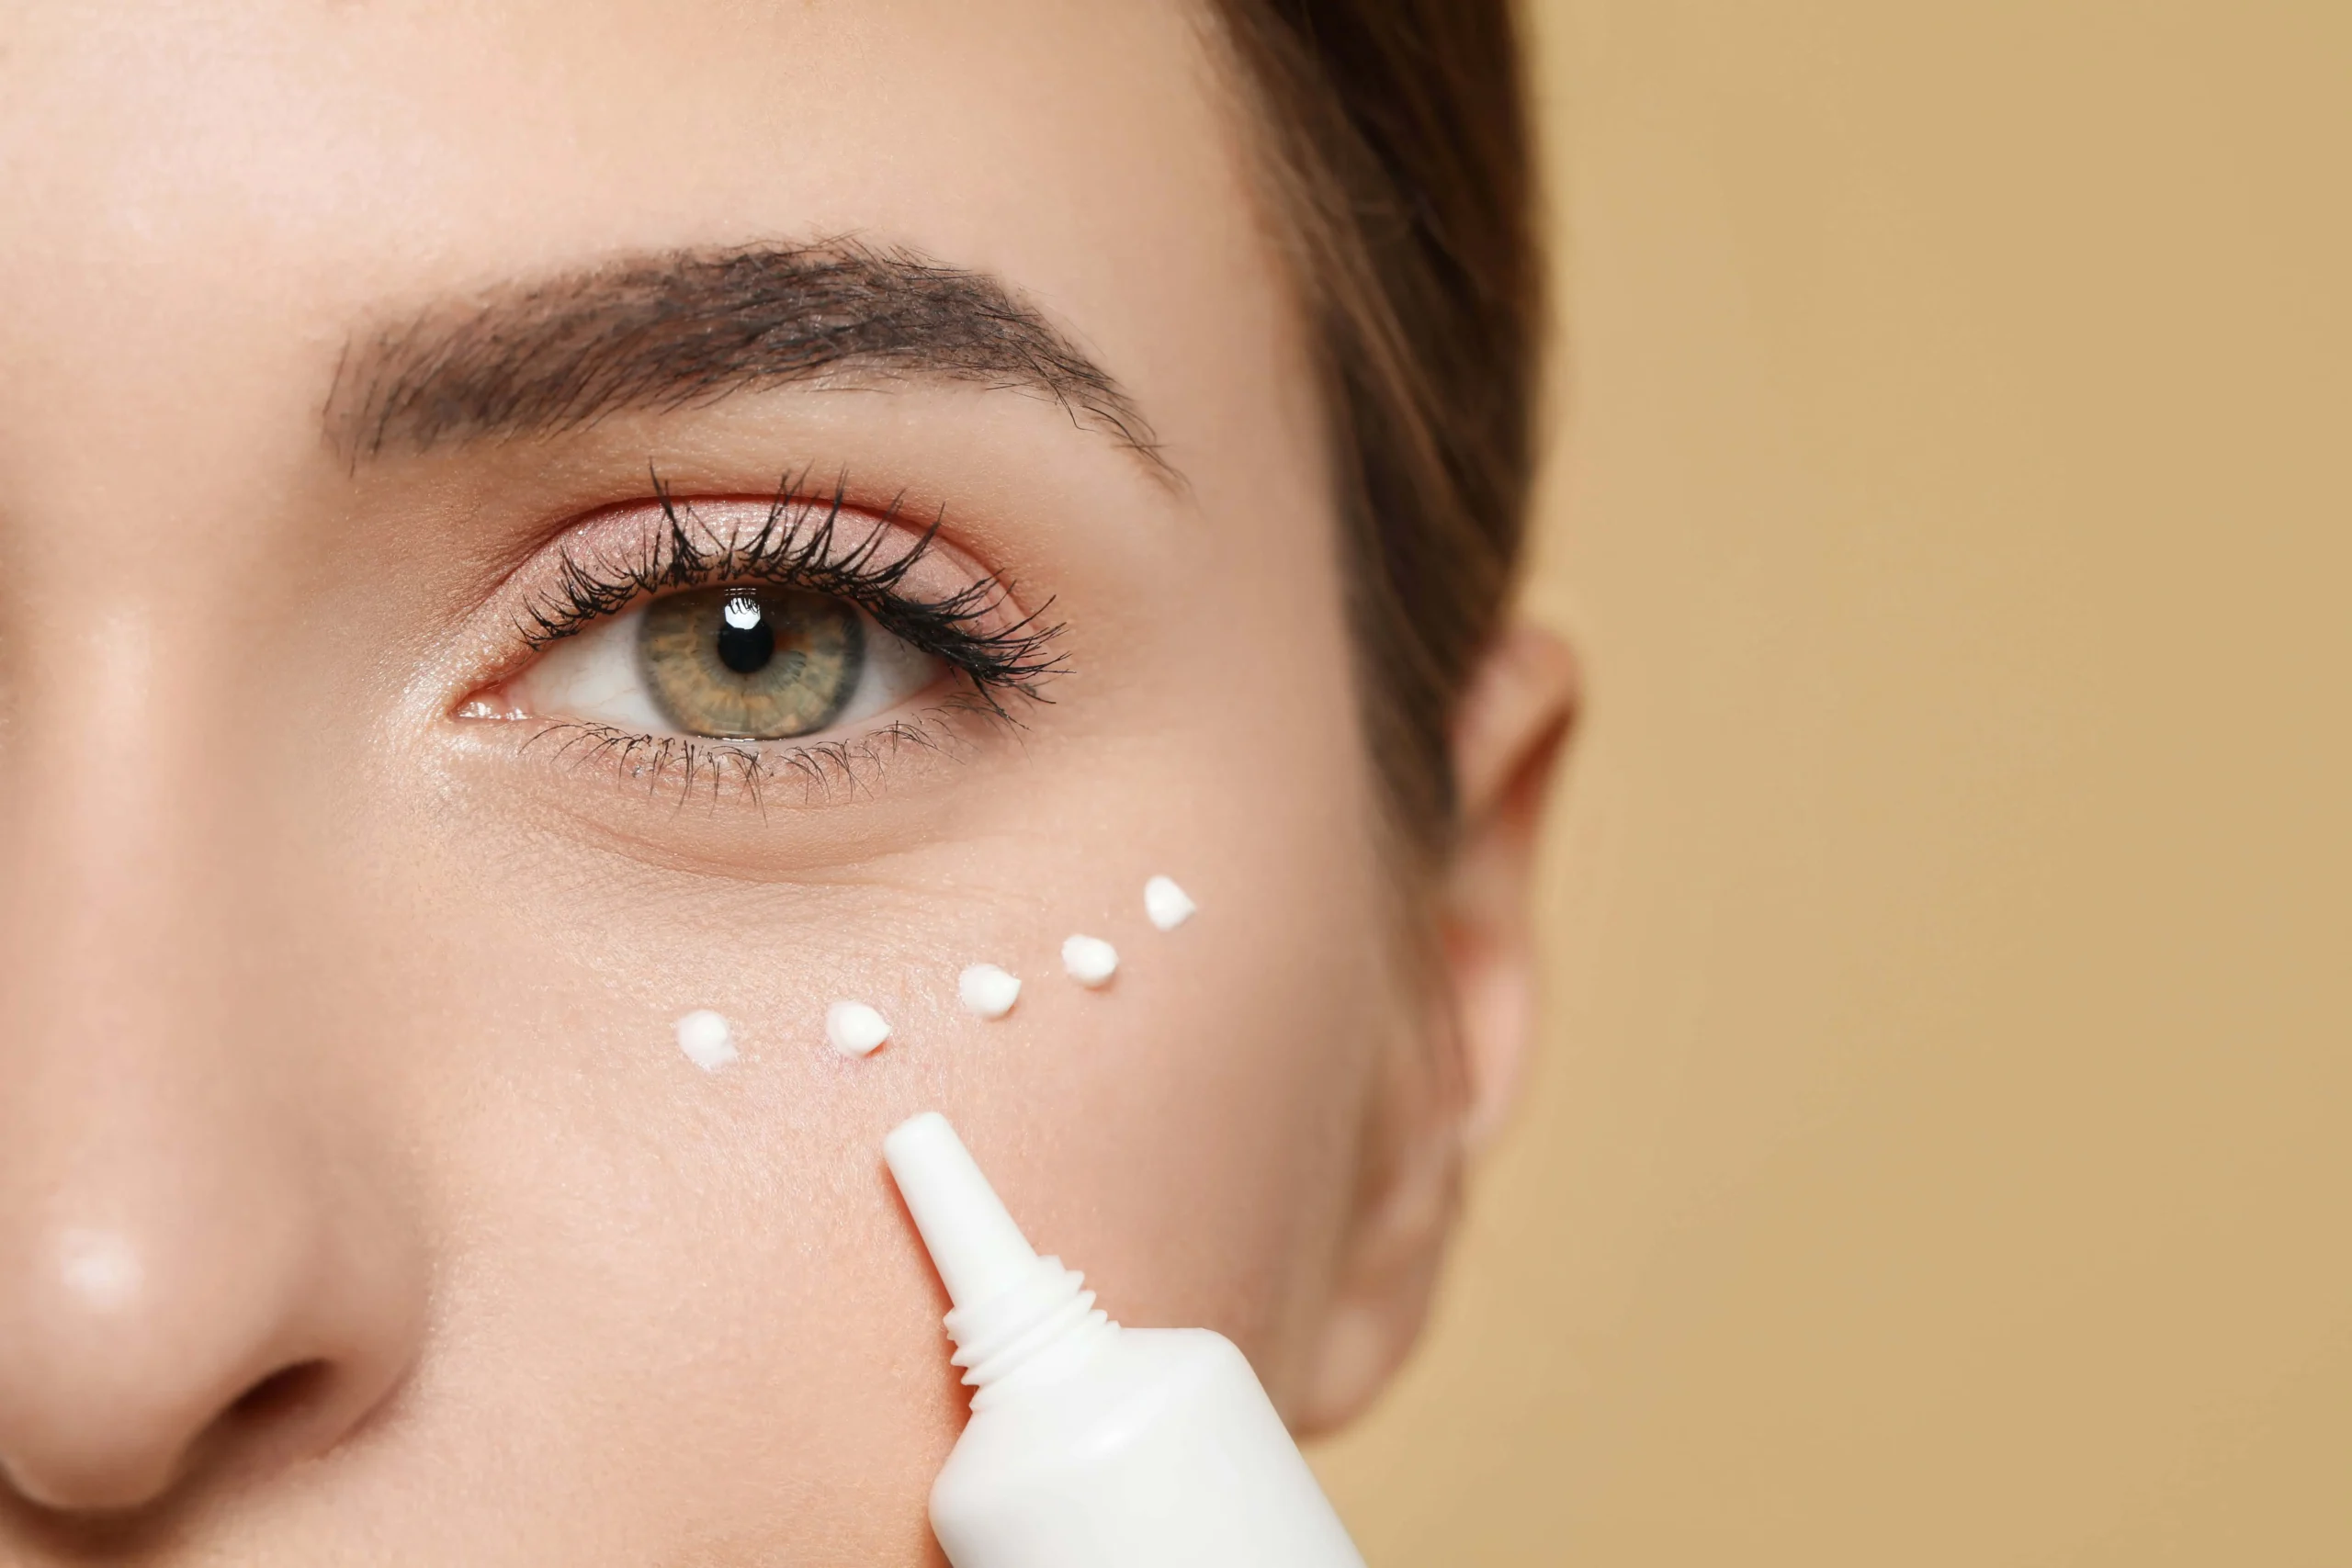
Apply a Small Amount: Dab a small amount of the product onto the test area. If it’s a serum or liquid, use a cotton swab or your fingertip to apply. A pea-sized amount is typically adequate for creams.
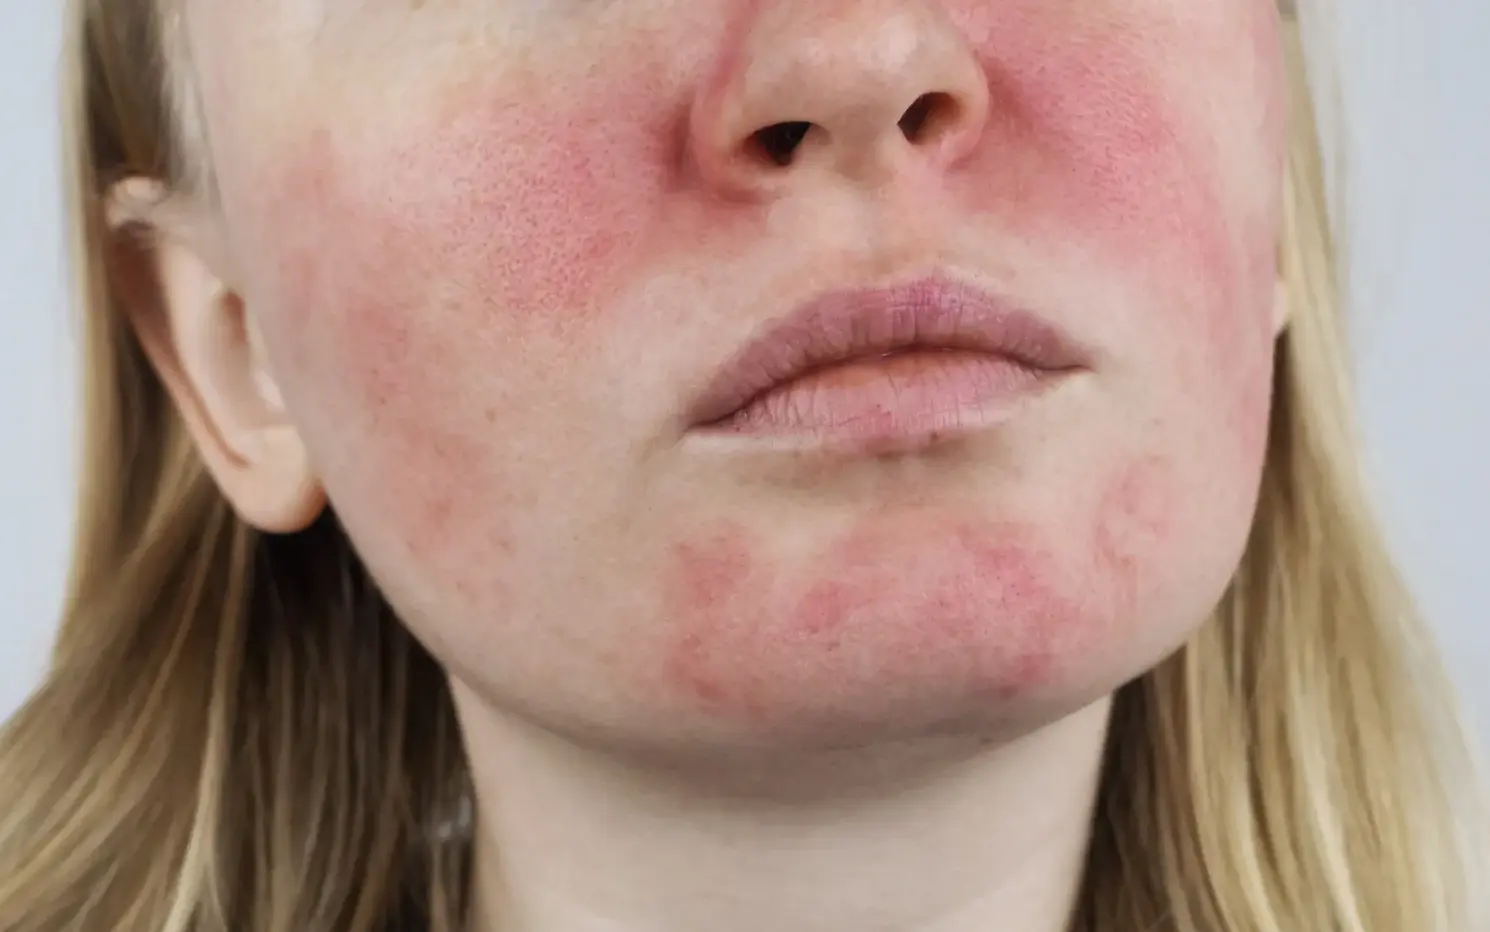
Wait and Observe: Allow the product to sit for 24 to 48 hours without washing it off. During this time, monitor the area for any signs of irritation, such as redness, itching, or swelling.
Evaluate the Results: If you notice any adverse reactions, discontinue use immediately. If the area remains clear and your skin feels fine, it’s generally safe to use the product on your face or body.
How to Respond to a Negative Reaction
If you notice any negative reactions during the patch test, here’s what to do:
- Wash the Area: Gently cleanse the area with a mild soap and water to remove the product.
- Apply a Soothing Treatment: If your skin is irritated, consider applying a soothing cream or gel, such as aloe vera, to calm it down.
- Avoid the Product: Do not use the product again. If you’re unsure about the ingredients, check for common allergens and irritants.
- Consult a Dermatologist: If the reaction is severe or doesn’t improve, seek professional advice.
Conclusion
Patch testing is a simple yet essential practice that can help you navigate the vast world of skincare safely. By taking the time to test new products on a small area of skin, you can minimize the risk of adverse reactions and make informed choices about what works best for your unique complexion. Remember, healthy skin is happy skin—so always prioritize safety when exploring new products!


