Skip to content
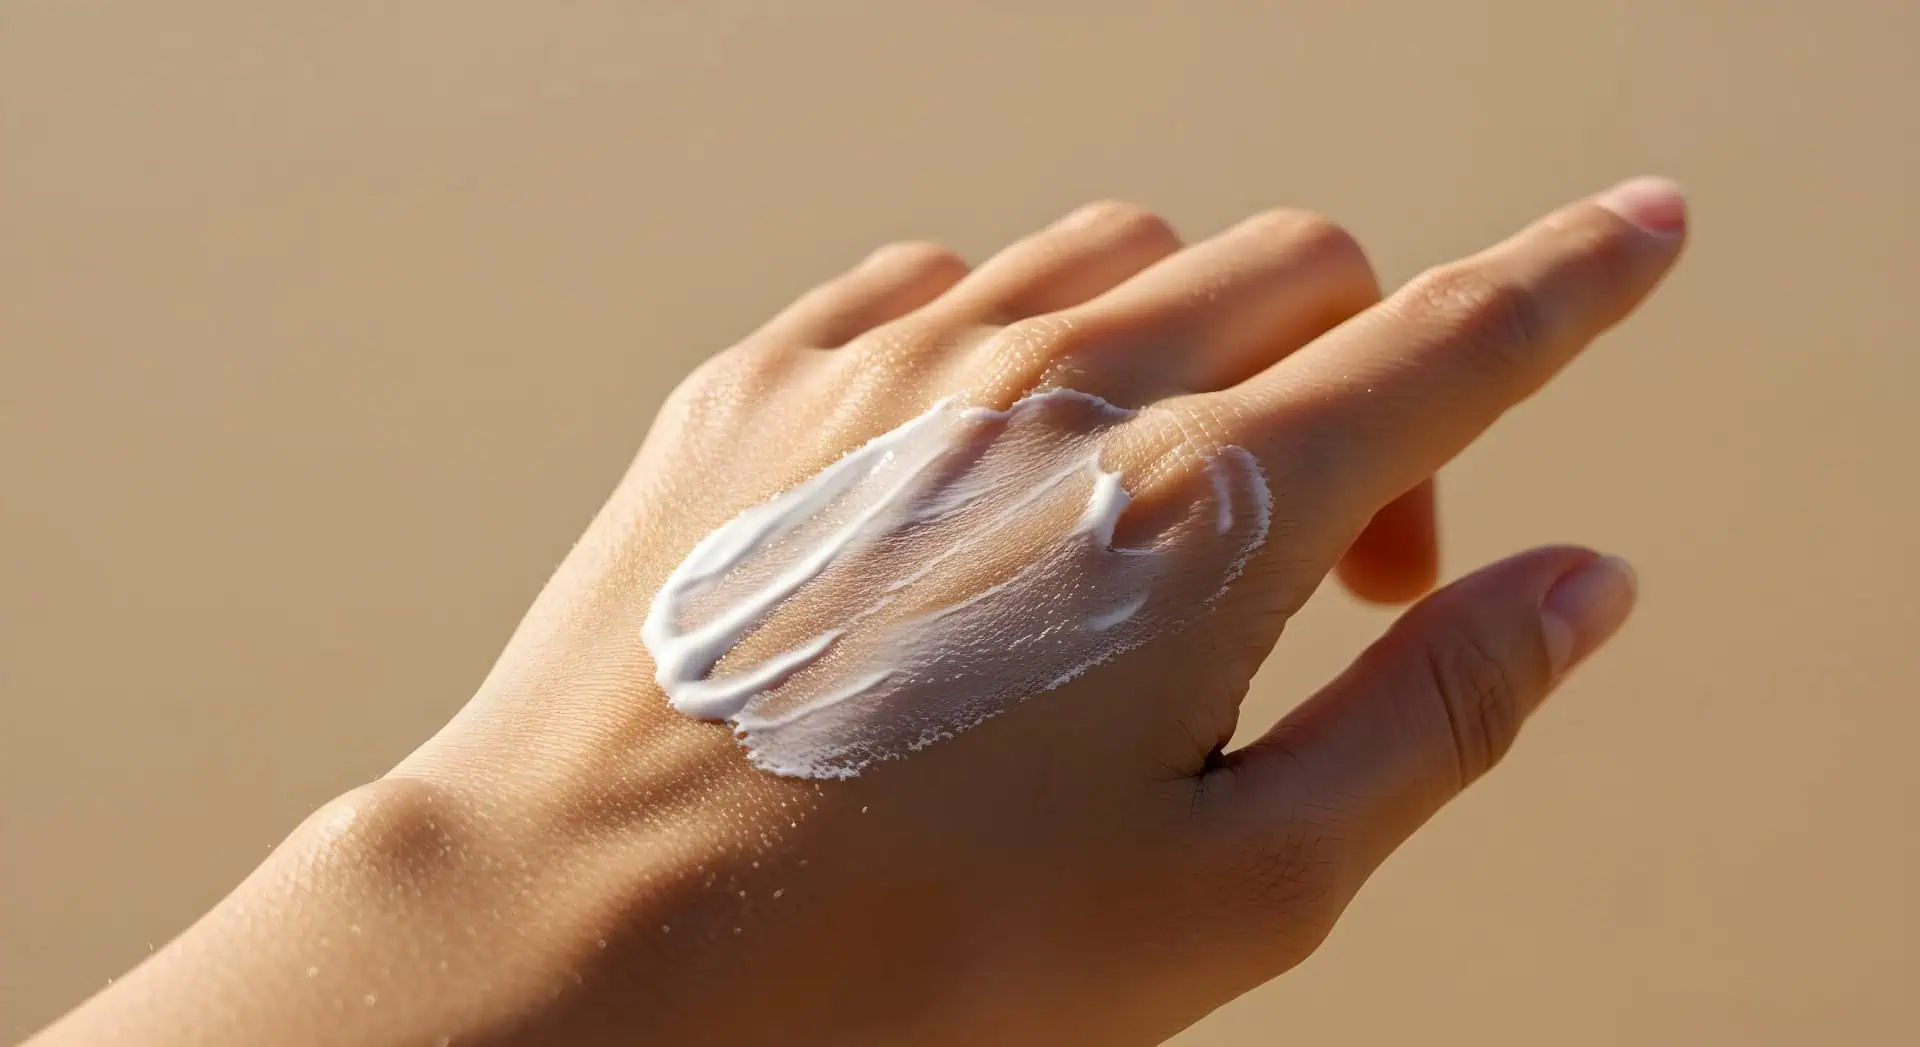
Table of Contents
Have you ever tried a new skincare product only to find that your skin reacts with redness, itching, or irritation? If so, you’re not alone. Skin allergies and sensitivities can be a real challenge, especially when introducing new products into your routine. One of the best ways to prevent adverse reactions is through patch testing. Here’s a practical guide to patch testing for skin allergies to help you keep your skin happy and healthy.
What Is Patch Testing?
Patch testing is a method used to determine how your skin will react to a new product before you use it on a larger area of your body. By applying a small amount of the product to a discreet area of your skin, you can see if it causes any adverse reactions. This simple step can save you from uncomfortable rashes or irritation and help you make informed choices about the products you use.Why Is Patch Testing Important?
- Prevents Reactions: Patch testing helps identify potential allergens or irritants in a product before it affects your entire face or body.
- Saves Time and Money: By avoiding products that might cause reactions, you save time and money on treatments for rashes or other skin issues.
- Protects Sensitive Skin: If you have sensitive skin or a history of allergies, patch testing is particularly important to avoid unnecessary discomfort.
How to Patch Test a New Product
- Choose a Test Area: Select a small, discreet area of your skin for the test. Common spots include behind your ear, on your inner forearm, or near your jawline. These areas are less noticeable but still close enough to observe any reactions.
- Cleanse the Area: Before applying the product, make sure the test area is clean and dry. Use a mild cleanser to remove any existing oils or residues, then pat the skin dry with a clean towel.
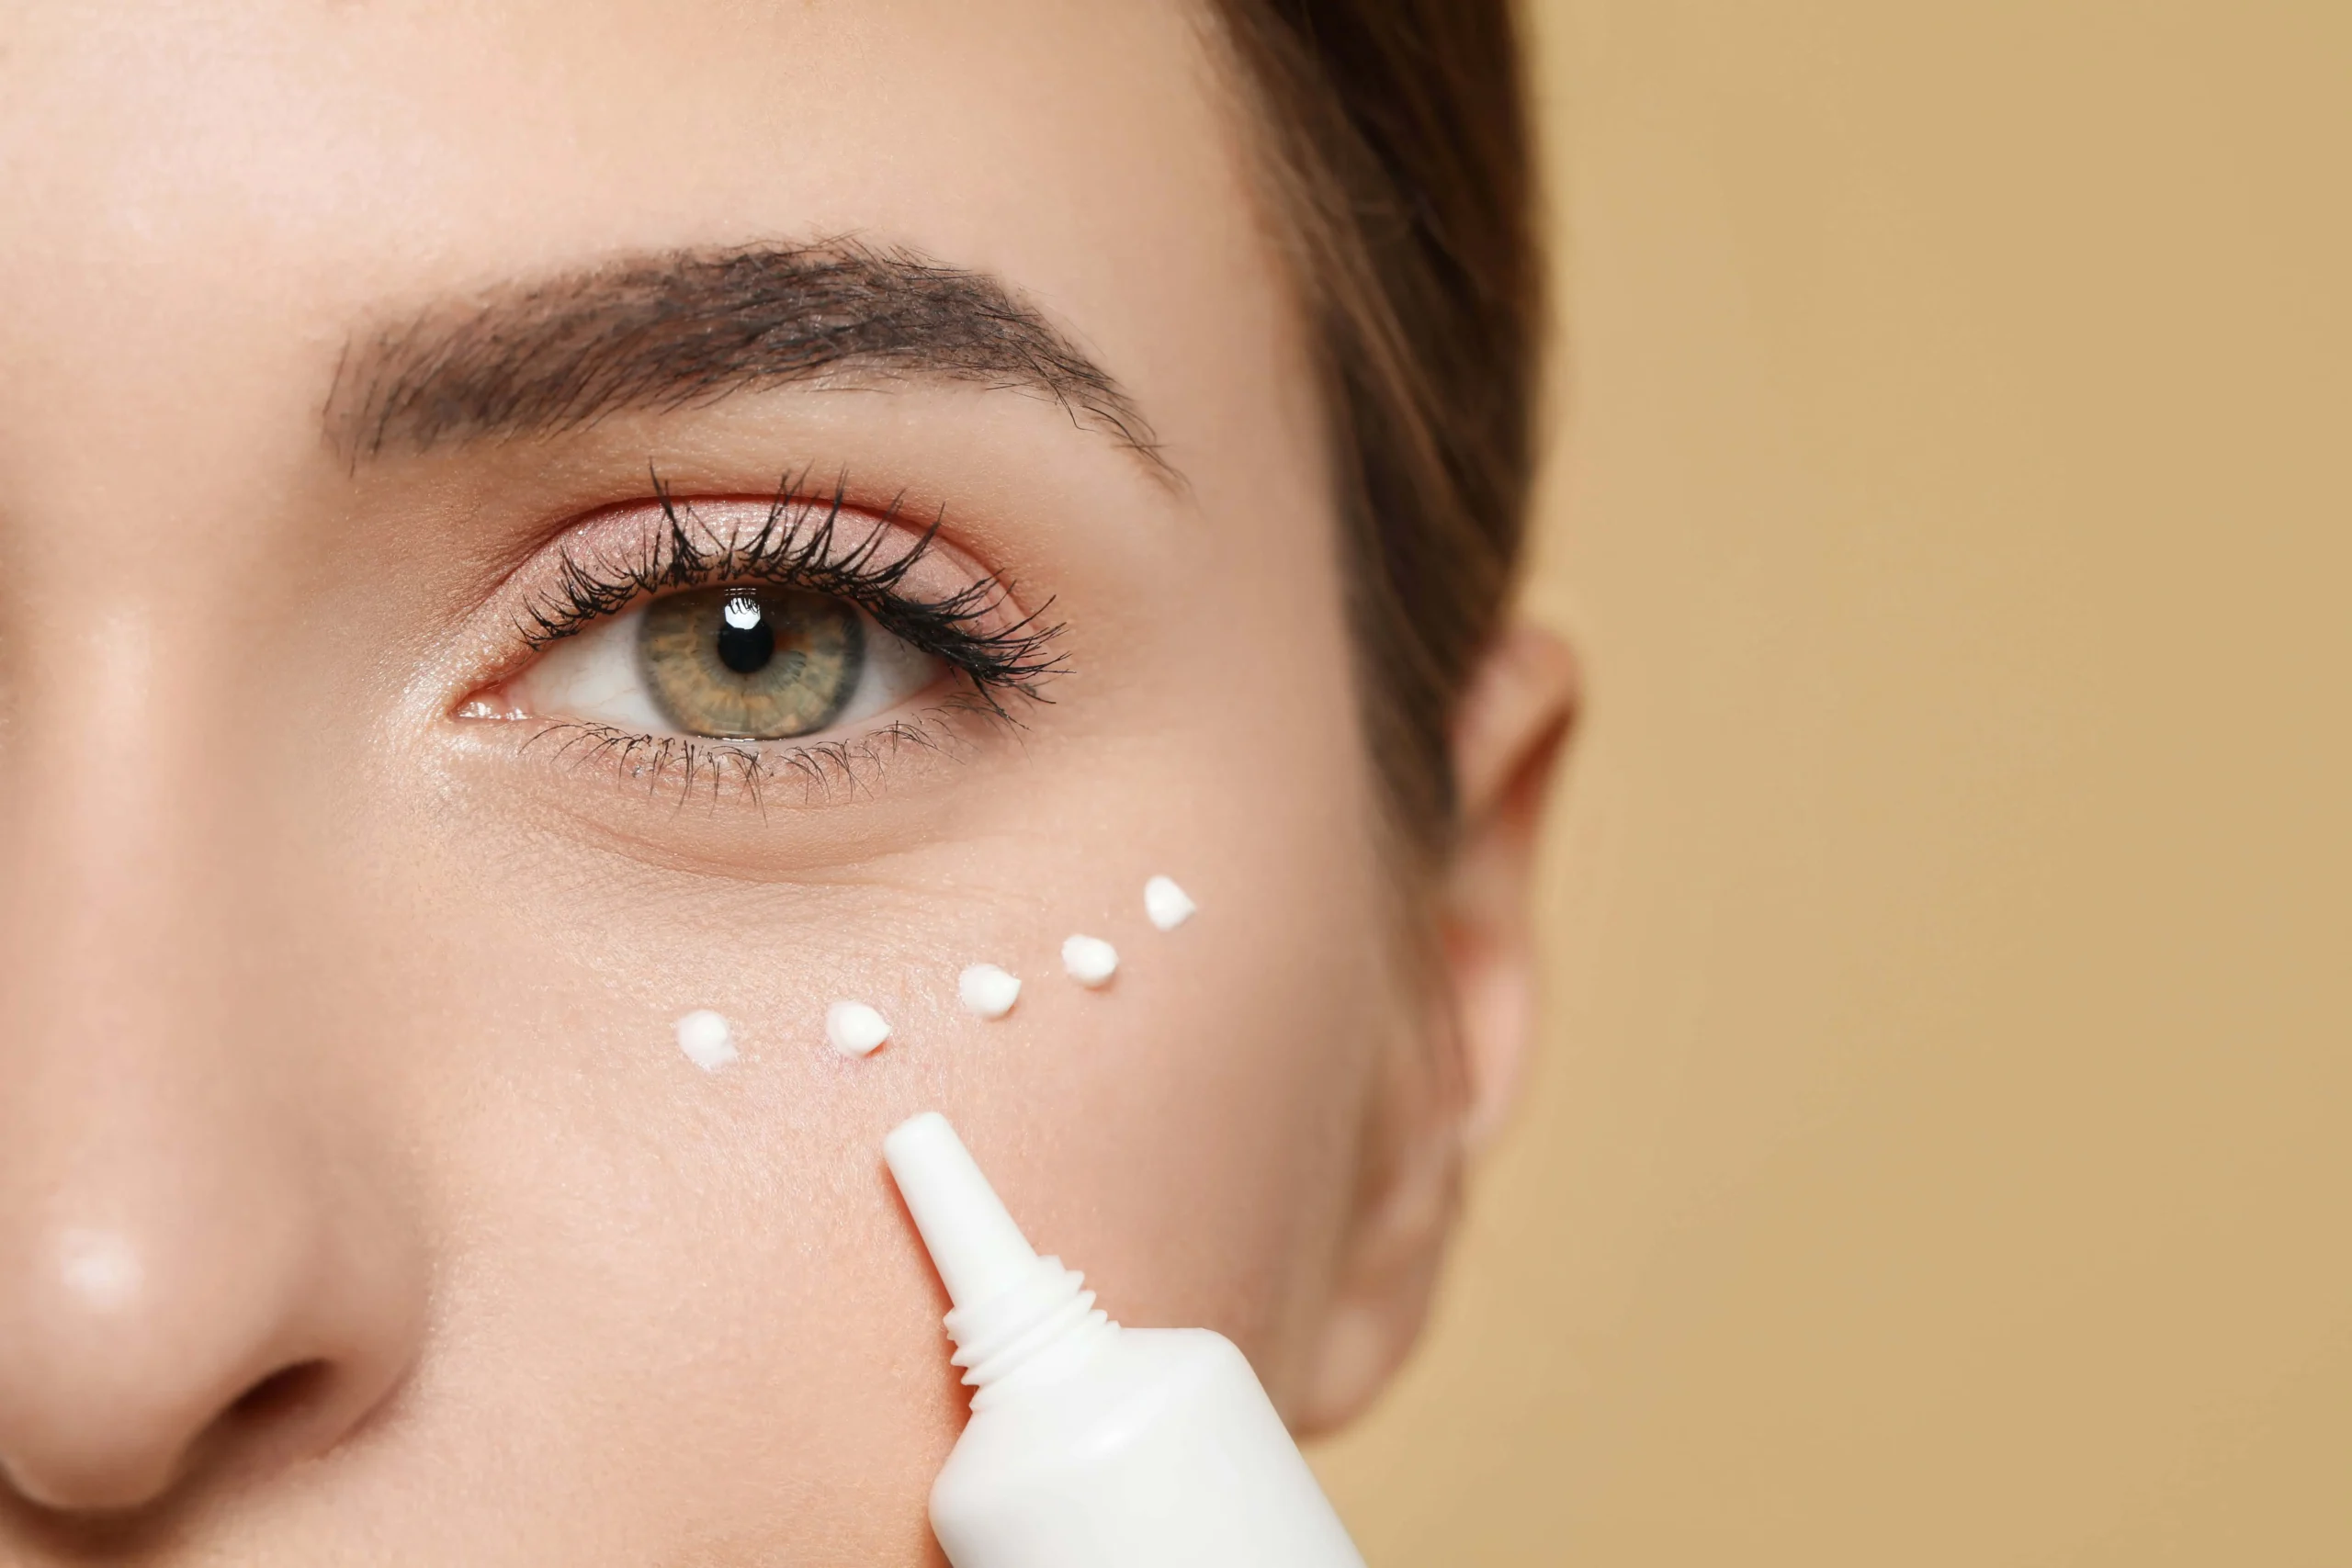
- Apply the Product: Apply a small amount of the product to the chosen area. You don’t need a lot—just a thin layer will suffice. Make sure the product is applied evenly to avoid any inconsistencies in the test.
- Wait and Observe: Allow the product to remain on the skin for 24 to 48 hours without washing it off. This waiting period is crucial, as some reactions can take time to develop. During this time, avoid covering the area with clothing or makeup that might interfere with the test.
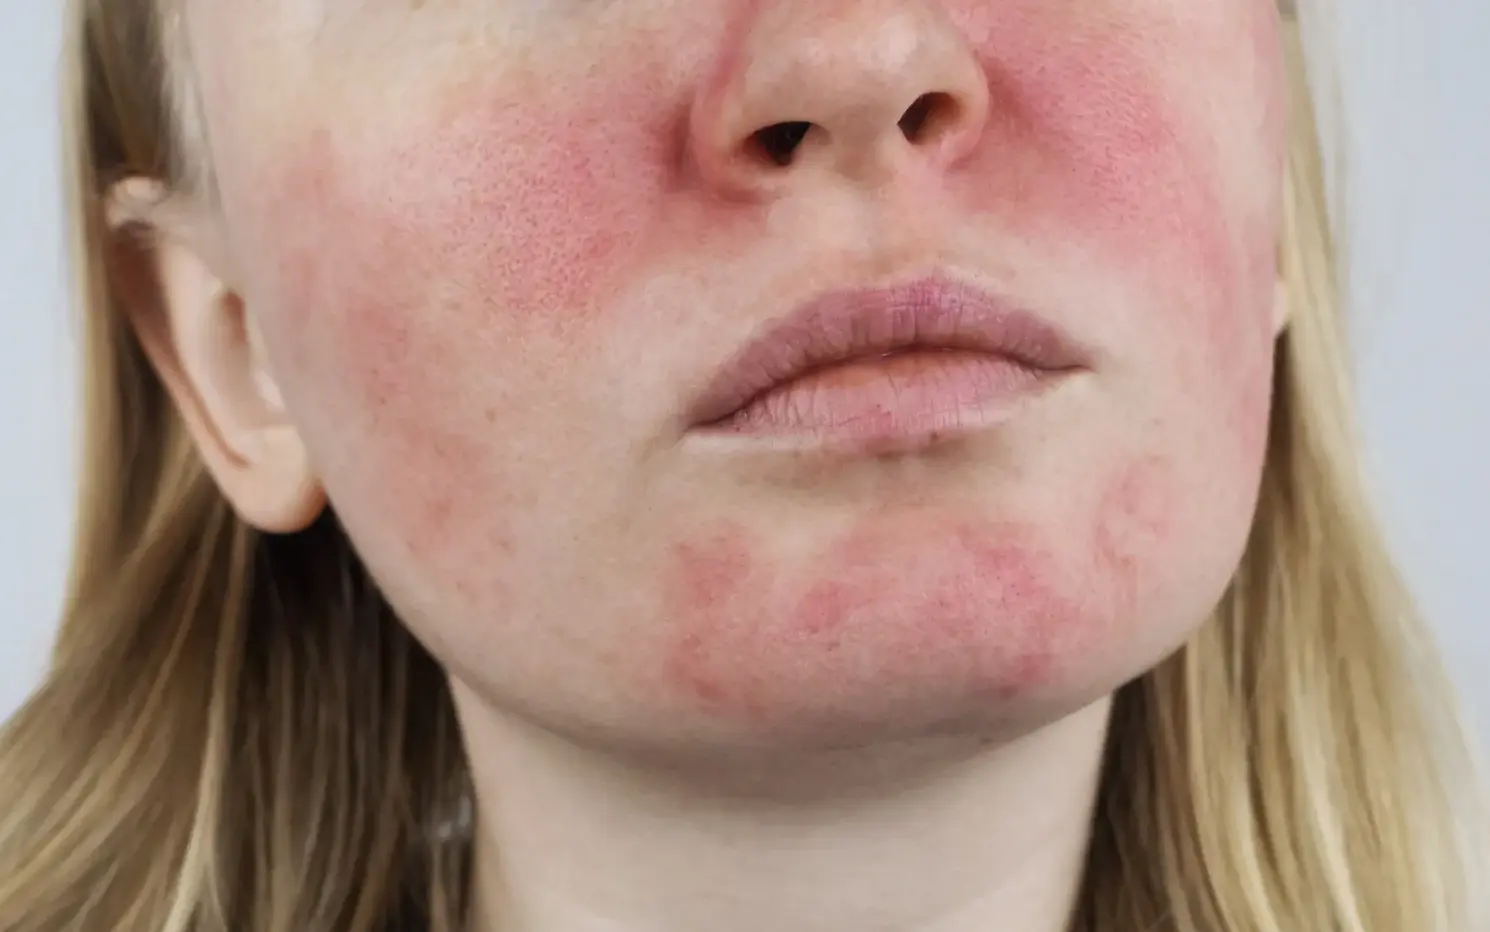
- Check for Reactions: After the waiting period, inspect the test area for any signs of irritation, such as redness, itching, swelling, or bumps. Noticing any of these symptoms means you should avoid using the product. If you don’t experience a reaction, the product is generally considered safe.
What to Do If You Experience a Reaction
- Stop Using the Product: If you notice any adverse reactions during the patch test, discontinue use of the product immediately.
- Treat the Area: Apply a soothing, fragrance-free moisturizer or hydrocortisone cream to the affected area to help calm the irritation.
- Consult a provider: If the reaction is severe or doesn’t improve, seek advice from a provider. They can provide guidance on treatment and help identify the specific cause of the reaction.
Tips for Successful Patch Testing
- Be Consistent: Always patch test new products, even if you’ve used similar products before. Ingredients can vary from one brand or formulation to another.
- Check for Multiple Products: If you’re trying several new products, test them separately to pinpoint any specific cause of irritation.
- Use Fresh Products: Ensure that the product you’re testing is new and hasn’t been contaminated or expired, as these factors can affect the results.
When to Skip Patch Testing
- No History of Sensitivity: If you have no history of skin allergies or sensitivities and have used similar products without issues, you might choose to skip patch testing. However, it’s still a good practice for peace of mind.
- Professional Advice: If you’re under the care of a provider or another healthcare professional, they might offer specific guidance based on your skin’s needs and history.
Conclusion
Patch testing is a simple but effective way to protect your skin from potential allergies and irritations. By taking the time to test new products on a small area of your skin, you can avoid uncomfortable reactions and make more informed choices about what goes on your skin. Whether you’re introducing a new skincare item or makeup product, incorporating patch testing into your routine can save you from unnecessary discomfort and help keep your skin in top shape.Please follow and like us: